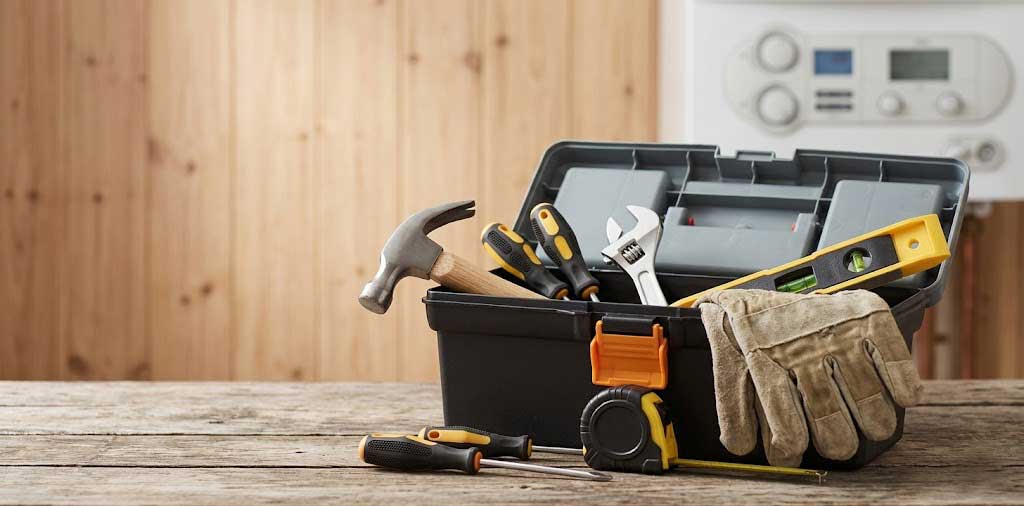
 Keep your home running smoothly year-round. Central heating checklists and boiler safety to plumbing fixes and electrical tips, we provide the practical advice every homeowner needs to prevent costly repairs.
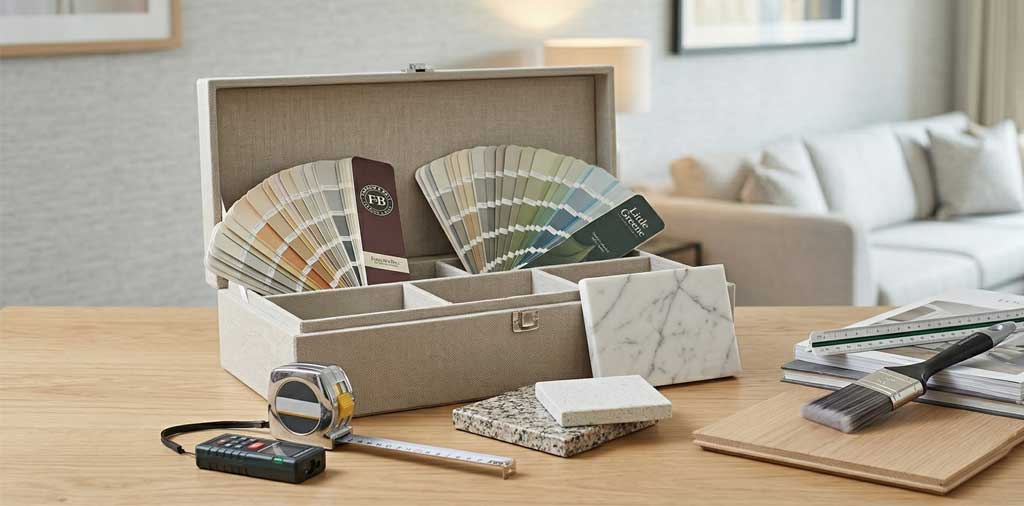 Transform your living space with our expert guides on flooring, painting, and kitchen renovations. Learn how to clean delicate surfaces like marble or choose the right fixings for your next big indoor project.
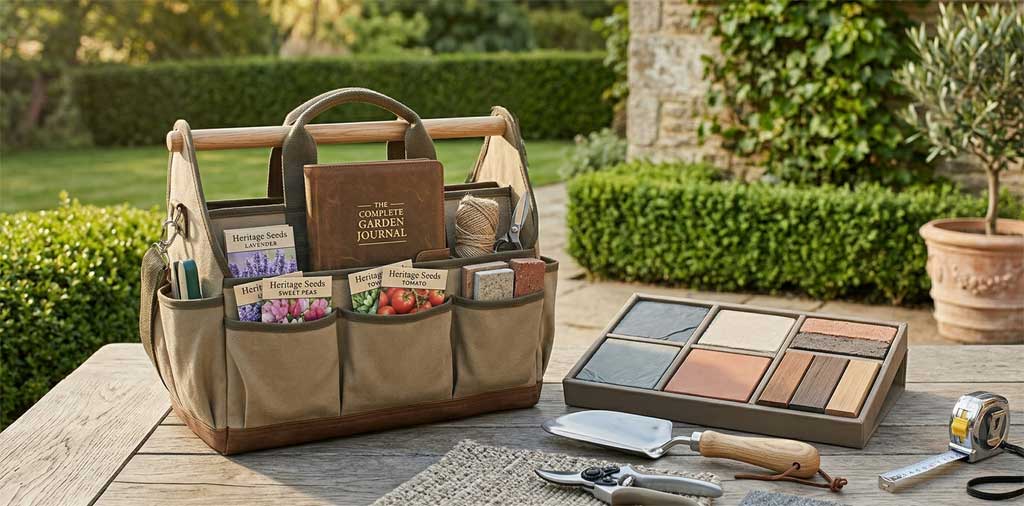 Enhance your curb appeal and enjoy your outdoor space. Discover the best lawnmowers for your garden, landscaping inspiration, and durable solutions for fencing, patios, and home exterior maintenance.
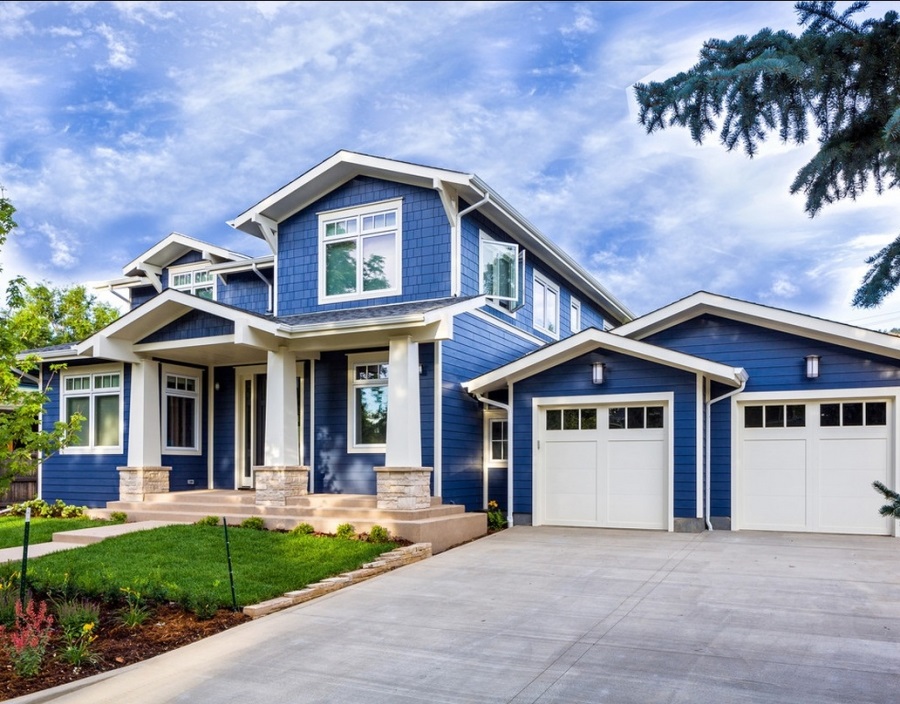
Every now and then, a house is ripe for a repaint job. Having a household with a yard is a great responsibility that comes with many time-consuming activities, and it’s important to at least keep up the respectable appearance on par with neighboring houses. One of the first things everyone notices when they take a look at your house is the state of the lawn and the condition of your facade. In order to stay proud of your own little kingdom, no matter the size or shape, here is an insightful expert guide to exterior painting.
Preparation
First of all, you need to know you can do this. If you’ve painted a few times, you’ll probably be confident to do this yourself, just be prepared for a long haul. With all the necessary tools you’ll require to finish this off properly, you’ll also have to choose the color. For starters, you’ll never make a mistake by opting for white, especially if the neighboring houses are of this color, or something equality neutral.
Just make sure not to choose something that will make your house stick out like a sore thumb. Having a primary color and additional colors for window frames and other outlines is fine. It would be best if primary and secondary colors are complementary. Remember to at least do a research on some smart tips and ask the experienced people for advice before you begin.
Rinse and repeat
Use a mixture of water and phosphate-free cleanser of your choosing, throw it all into the bucket and use a sponge to wash the exterior walls. This is done in order to get rid of mildew spores and other dirt that can potentially make your new coat of paint last shorter. You don’t want to see it start peeling off in a few months.
As far as rough spots go, you can use sandpaper, or a pad sander to smooth them out before you start brushing. People often make the mistake of pushing too hard and then you end up with an irreversible damage to your wood – the marks that are really hard to cover. Try to be gentle and focus on getting rid of rough spots only.
The lead issue
There’s a high probability, if your house has been built and painted in the 1970s or earlier, that lead paint was involved. Therefore, it’s crucial to take the necessary steps to protect yourself and your neighbors from airborne lead particles. As far as the lead paint scraps go, clean the area thoroughly with a HEPA vacuum and dispose the materials at the approved hazardous material site.
Make sure to have enough plastic drop cloths to collect scrapings of paint. You absolutely have to wear a mask and disposable coveralls. Opting to use high quality exterior paint products to repaint the house and its surrounding (fences, decks, paving…) is a wise choice since they tend to last longer and keep up that fresh look of your facade.
What primer’s for
A primer is a preparatory coat of paint, sometimes known as the undercoat. It is important to put it on material meant for painting to ensure better adhesion of paint to the surface. It has also been proved a primer helps the paint job last longer. It’s a godsend for porous material such as concrete and wood. It’s especially convenient for small gaps around the windows, doors and other spots that seem inaccessible.
It’s a protection for both the surface and the paint that goes over it so don’t skip this step! The rest of it is pretty much smooth sailing and, if you really get into it, a Zen experience that will only take away some of your time.
People tend to take the issue of exterior painting lightly and, sure, when it’s compared to a full house renovation, interior or exterior, it appears to be an easier chore. However, it’s a serious endeavor that requires a lot of preparation and time to finish. Depending on the size of your house, it can take from two days to a week to finish it by yourself. Therefore, don’t take it lightly and if you can’t conquer this mountain yourself, hire the right people to do it for you.